
How to Use Filters in the Dashboard
Filters in the Swonkie dashboard allow you to customize and adjust how your data is displayed. In this article, we explain how to use the available filters, save settings for future use, and reset them whenever necessary.
Available Filters in the Dashboard
Profiles
- Select the social media profiles you want to include in the dashboard widgets.
- Ideal for analyzing specific accounts or comparing metrics from different profiles.
Tags
- Apply tags to filter data according to campaigns, themes, or other categories you’ve defined in your posts.
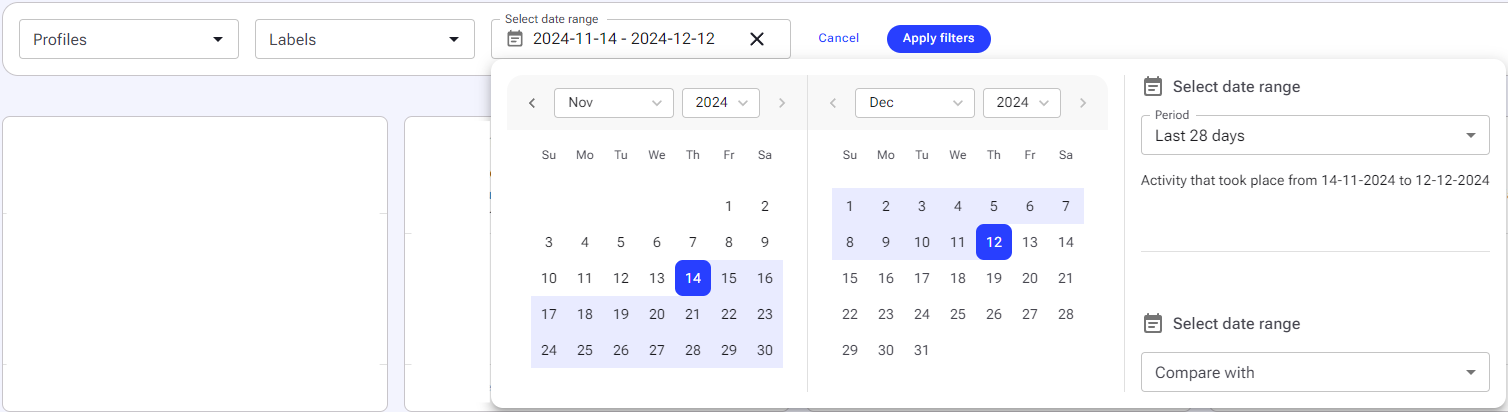
Date Range
- Set the period you want to analyze (e.g., last week, last month, etc.).
- Perfect for monthly reports or seasonal analyses.
Comparison Date
- Compare data from a specific period with a previous interval (e.g., this month vs. last month).
How to Use Filters
- In your dashboard, locate the filter bar at the top of the page.
- Click on the filter you want to apply (e.g., Profiles, Date Range).
- Make the necessary selections and confirm the application.
- After choosing your desired options, click Apply Filters to update the dashboard based on your selections.
How to Save Filters for Future Use
- After applying the desired filters, click the Save option.
- The next time you open the dashboard, your saved selections will be automatically loaded.
How to Reset Filters
- If you want to remove the applied selections and return to the data without filters, click Reset Filters.
- This action removes all applied settings and returns the dashboard to its initial state.