
How to Create a Custom Widget in Swonkie
In Swonkie, you can customize your dashboards by adding specific widgets to analyze the most relevant data for you. Follow the steps below to create a custom widget:
Steps to Create a Custom Widget
- Access the dashboard where you want to add the widget.
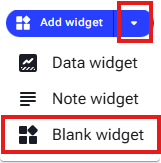
- Click the arrow next to the "Add Widget" button and select "Blank Widget."
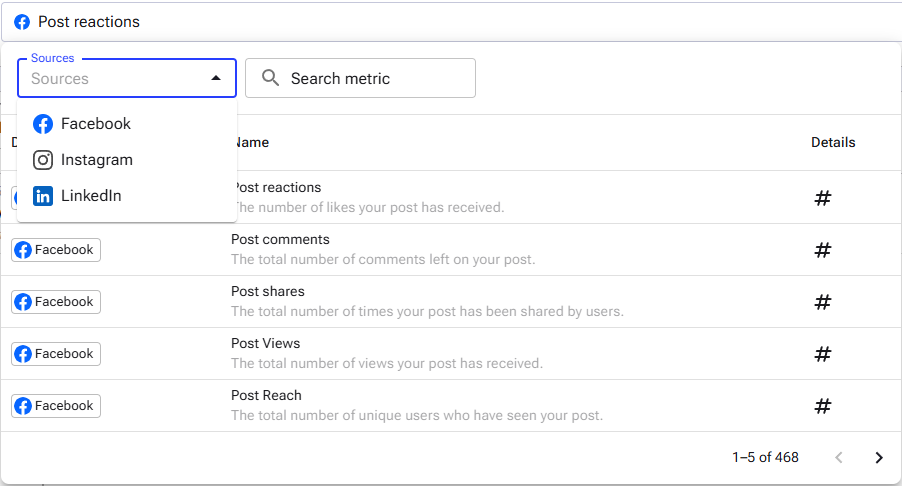
- (Optional) Choose the data source for the widget. (If not selected, all dashboard sources will be used by default.)
- Click "Next".
- Select the metric you want to analyze.
- Choose the chart type that best represents the data.
- Set the default time period for analysis.
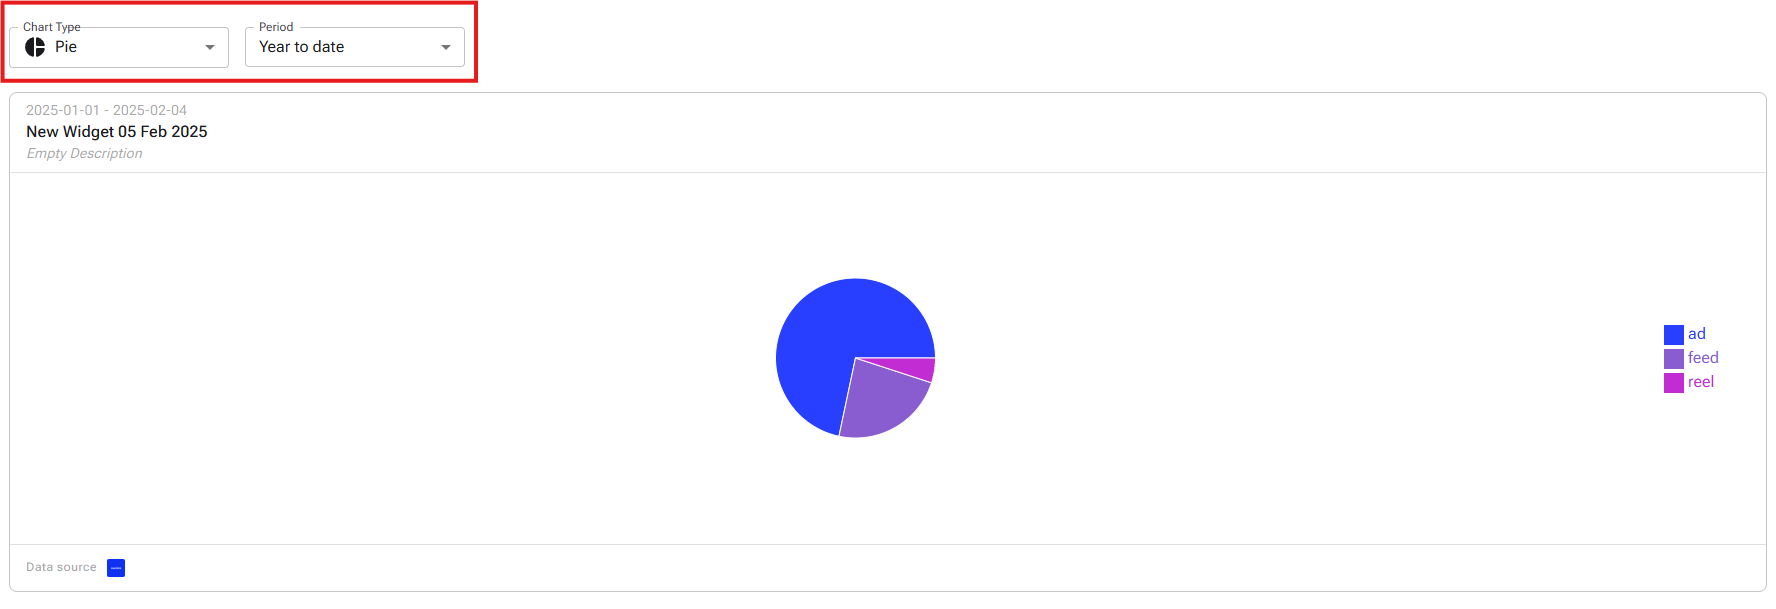
- Name the widget and, if you wish, add a description.

- Finally, click "Create Widget".
The widget will be automatically added to your dashboard with the selected settings. Now, you can view and analyze your data in a personalized way! 🎯
What’s Coming Next?
Currently, it is only possible to create simple widgets with a single metric. However, we are working on exciting improvements, including:
✅ Combining multiple metrics in a single widget
✅ Adding formulas for custom calculations
✅ Grouping data for more detailed analysis
✅ Table view for a more structured presentation
Stay tuned for upcoming updates! 🚀