
How to Add Social Networks on Swonkie?
To manage all your social networks centrally, Swonkie allows you to add multiple profiles in a simple and quick way. Below, you’ll find step-by-step instructions for adding the various compatible social networks.
General Steps to Add Social Networks
- Access the "Settings" menu.
- Select "Social Media Profiles".
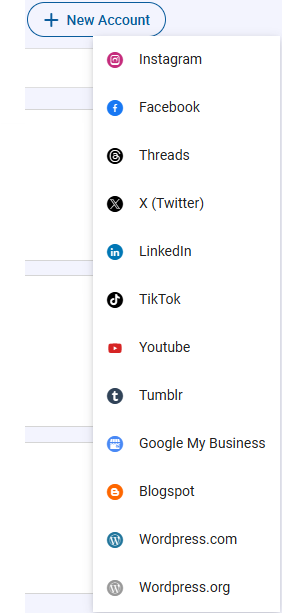
- You’ll see the available social networks you can add.
- Click on the social network you want to set up.
- Follow the specific steps for each social network, described below.

Note: You can also use the "New Account" option in the top right corner.
Facebook:
- The personal account that manages the pages to be handled in Swonkie must be logged into the browser where you are using the platform.
- Important: The personal account will not be imported into Swonkie but is essential to connect the pages.
- Permissions: Make sure to accept all permissions for all pages during the addition process.
Instagram:
- Only professional accounts associated with a Facebook page can be added.
- When you click "Add", you will be redirected to Facebook login, where you must accept all permissions.
- If the Instagram account is not imported, verify that you have administrator or editor permissions on the associated Facebook page. You can find more details in this article.
Threads:
- The Threads account must be logged into the same browser where you are using Swonkie.
- Once logged in, simply click "Add" and follow the process.
Twitter:
- The Twitter account must be logged into the same browser where you are using Swonkie.
- Once logged in, simply click "Add" and follow the process.
TikTok:
- The TikTok account must be logged into the browser, and after that, you can add it to Swonkie via the "Add" button.
LinkedIn:
- You will be redirected to log into your personal LinkedIn account.
- The personal account and all pages for which you have super administrator permissions will be imported.
- After import, you can remove the personal account if you do not want to manage it on the platform.
Tumblr:
- To add Tumblr, the account must be logged into the browser where you are using Swonkie.
- After that, click "Add" to complete the process.
Blogspot:
- You must select the Google account containing the blog to add it to Swonkie.
- After selecting the correct account, follow the instructions to complete the integration.
WordPress.com:
- When you click "Add", you will be redirected to your WordPress account login.
- After entering your credentials, the blog will be imported into Swonkie.
WordPress.org:
To add a WordPress.org blog, you’ll need to follow a few additional steps:
- Download a plugin provided by Swonkie.
- Install the plugin in your WordPress site’s admin area.
- Follow the provided instructions to synchronize the site with Swonkie and manage the content.