How to Create a Dashboard in Swonkie
Creating your dashboard in Swonkie is simple and allows you to customise the metrics you want to monitor, adapting it to your needs. Follow this step-by-step guide to set up a reporting dashboard efficiently.
1. Create a dashboard
- Go to the Insights area in the main Swonkie menu.
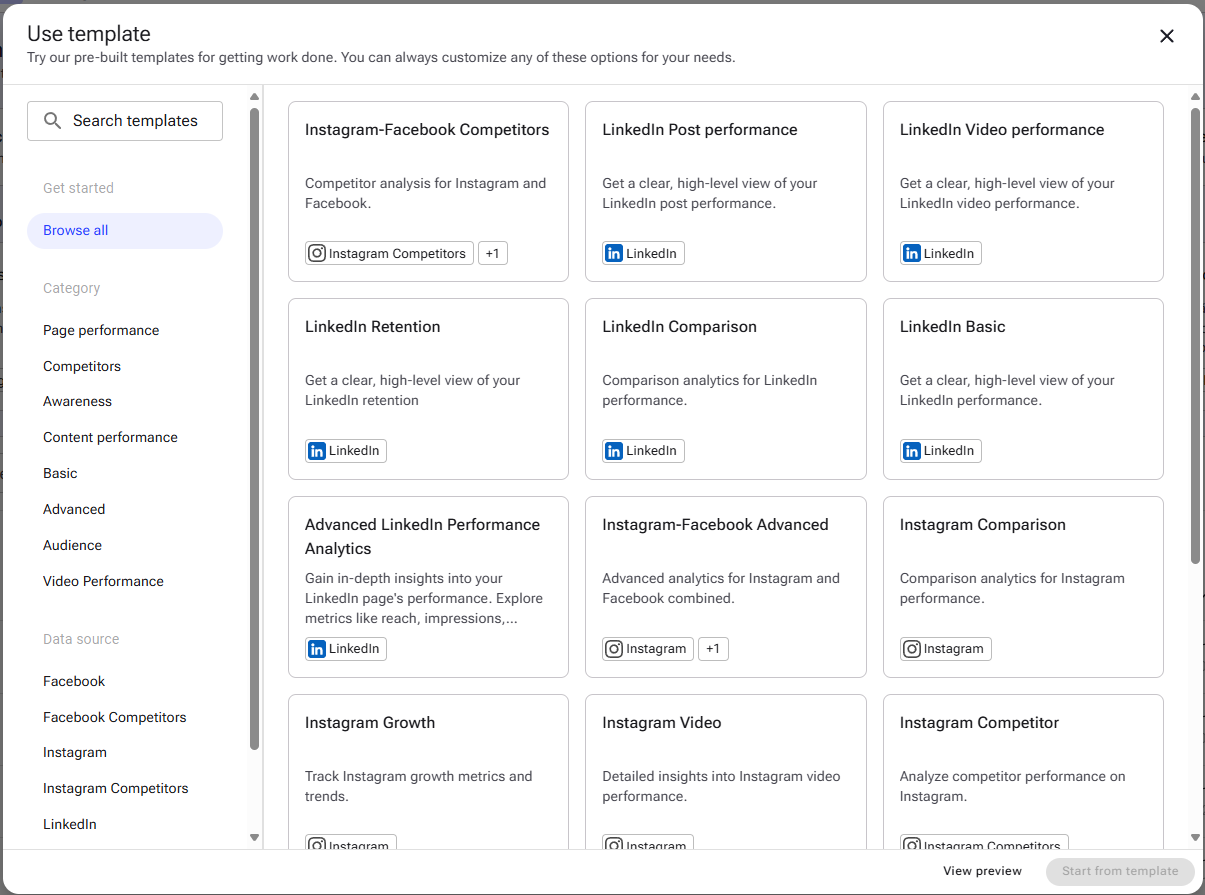
- Then, choose between "Choose a template" to start with a pre-built layout or "Start from scratch" to create a fully customised dashboard.

- If you chose the "Choose a template" option, you’ll see several pre-made dashboards that you can select and edit to suit your needs.
- Select between 1 and 10 social media profiles or competitors to add to your dashboard.
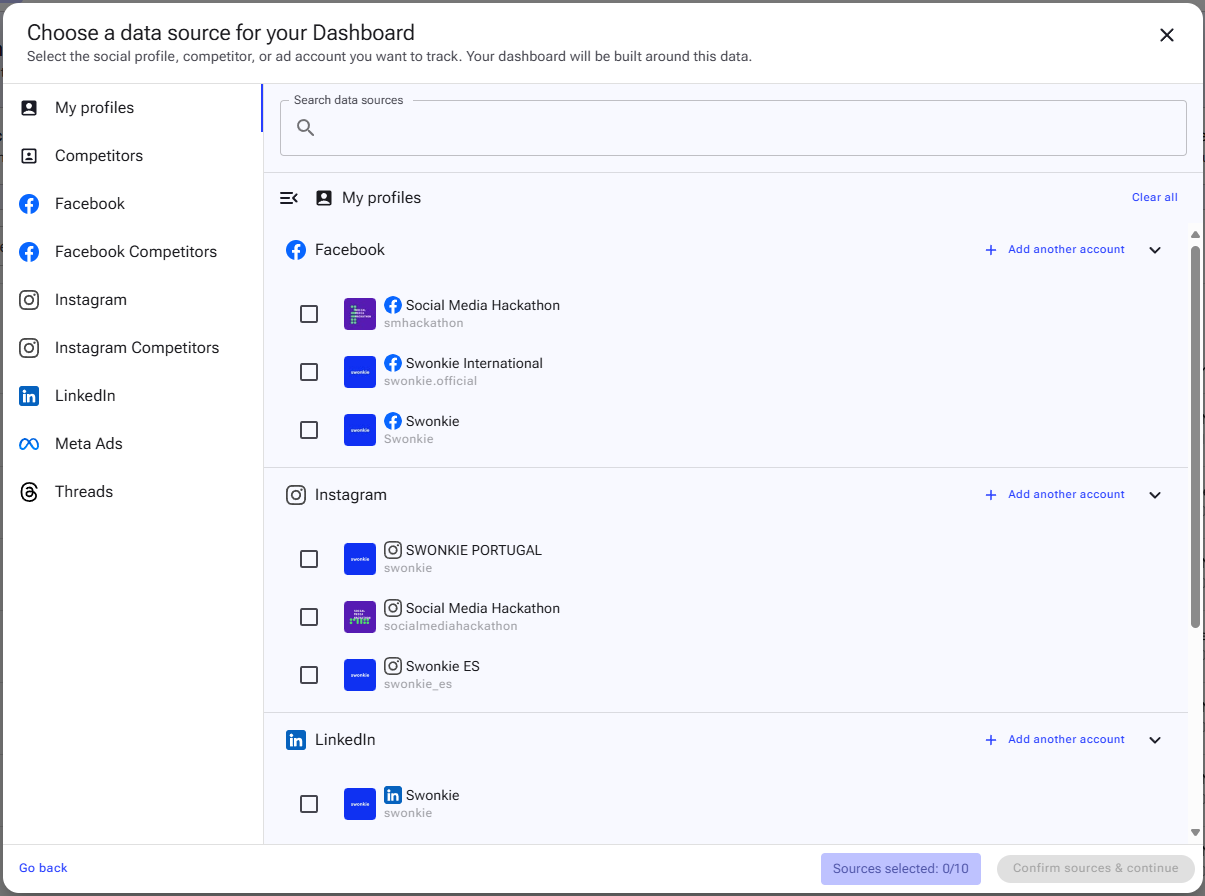
Tip: You can add different profiles from various social networks and competitors to the same dashboard, allowing for expanded comparison analysis.
2. Configure your dashboard
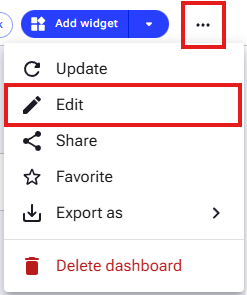
After creating your dashboard, you can edit a few settings to further personalise it. To do this, click on the three dots in the top right corner and select "Edit".
2.1. Name and description
- Add a name and/or description to your dashboard that reflects its purpose.

2.2. Data sources
- You can add or change the data sources shown in your dashboard.

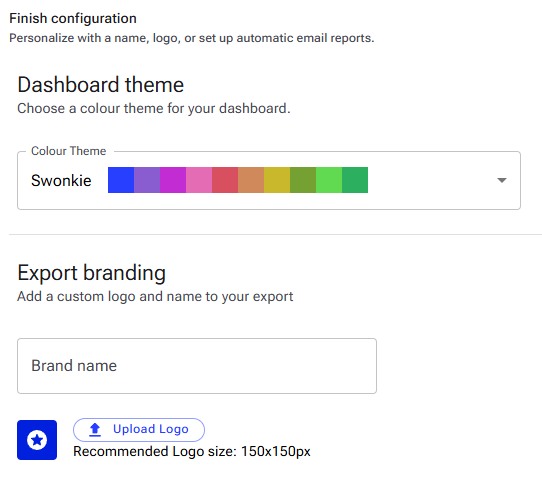
2.2. Customise the dashboard
- Colour theme: define the colours to apply to the dashboard, aligning it with your brand identity.
- Brand logo and name: add your logo and brand name, which will appear on dashboard exports.
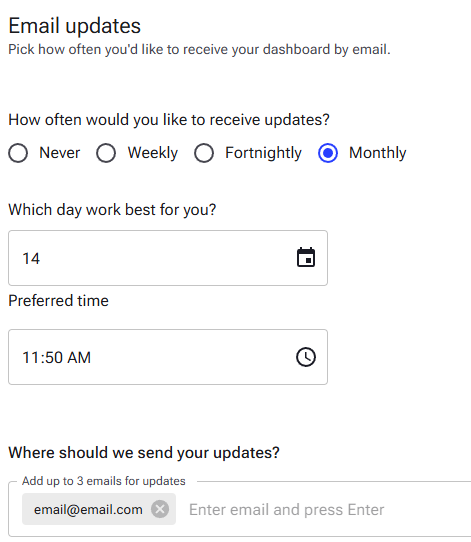
2.3. Automatic exports
- Choose whether you want to receive an automatic PDF export of the dashboard by email. Set the frequency and add the recipient emails.